High-Performing Email Automation Strategy: A Step-by-Step Guide
Email automation is a major channel for most businesses and if you’ve got a growing owned database without leveraging it you could be leaving money on the table. However, we understand it can seem like a mammoth task and it’s difficult to know where to get started. There’s far too many experts and guides online telling you conflicting information and it’s easy to get led astray.
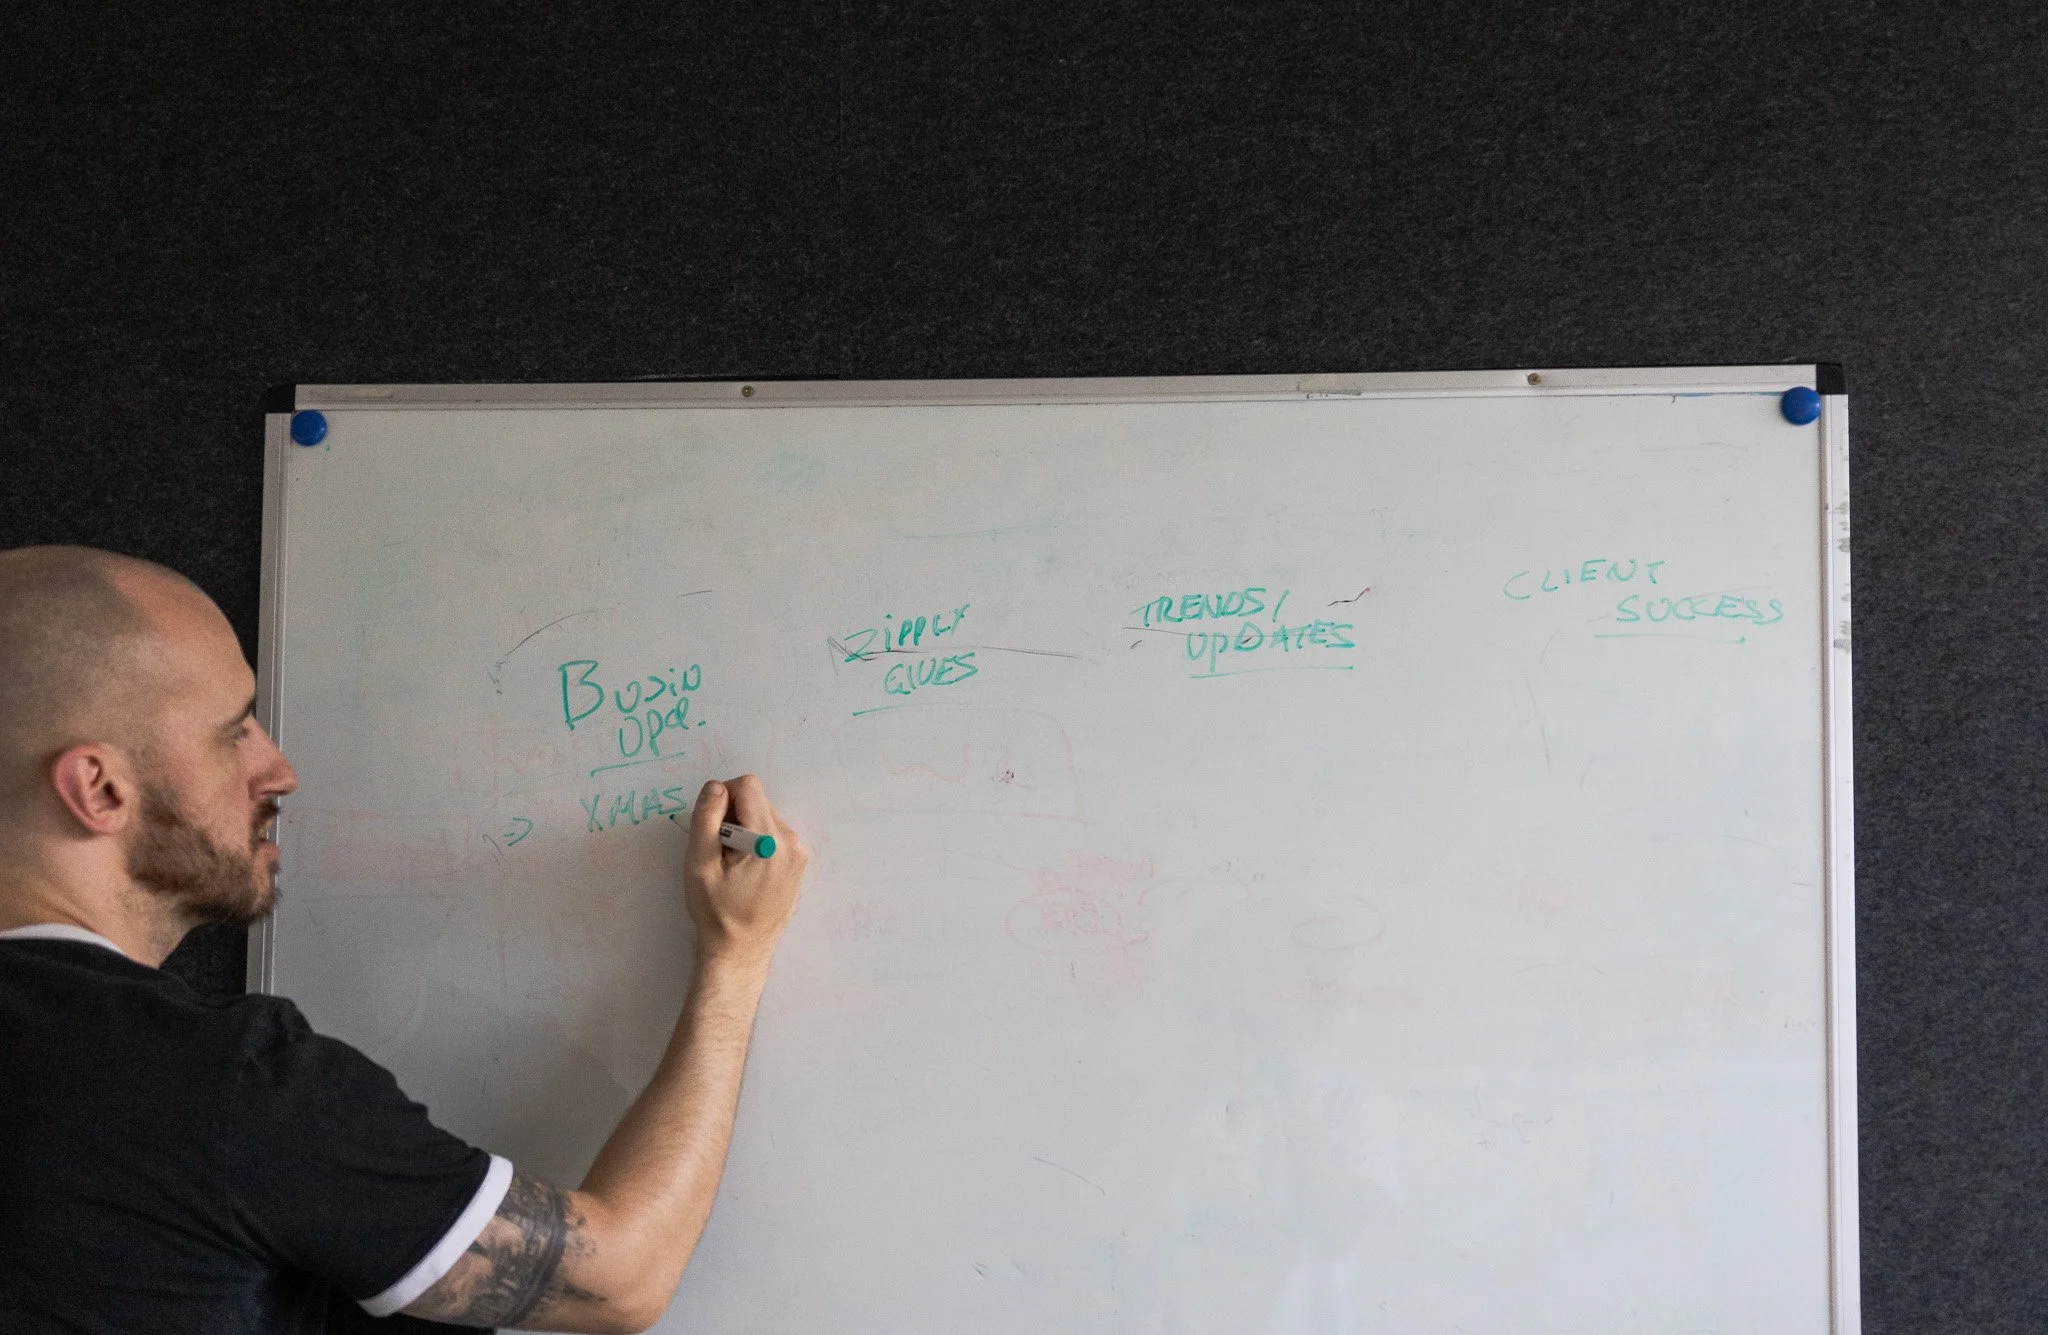
So we’ve decided to lay out how we personally strategise and implement email automations (flows) for our customers, this our battle tested method for B2B companies to convert leads over time. No jargon. No theory for theory’s sake. Just the steps we use at Zippily when building automation that actually works.
Step 1: Start With Clear Requirements
Define the goal of the flow
Every email flow should have one primary job. If it has three, it will do none of them well.
Common goals we see with small and medium businesses include:
Converting new leads into booked meetings or calls (Welcome nurture)
Onboarding new customers (Onboarding series)
Re-engaging inactive contacts (Winback flows)
Supporting renewals or upsells (Cross-selling flows)
Write the goal in one sentence. If you cannot, the flow is not ready to be built.
Understand who the flow is for (for segmentation)
Avoid the trap of “this is for everyone”. It never is.
Ask:
What problem is the contact trying to solve right now?
What do they already know about us?
What would be genuinely helpful at this stage?
NZ example: a Wellington-based professional services firm separated their enquiry follow-up into two flows. One for price-driven leads and one for solution-driven leads. Same service. Very different emails. Conversions improved without adding a single extra email.
Step 2: Map the Customer Journey Before Automation Triggers
Identify key touchpoints
Before opening HubSpot or Attio, map the journey on a whiteboard or doc. We personally like to use Miro for this at Zippily.
List:
How someone enters the flow
What happens before email
What should happen after email
This step stops automation from feeling random. Start to understand where these communication touchpoints sit within the overall custom journey and how it can offer value. This may also uncover any double-ups in comms or misguided emails.
Decide where automation adds value
Don’t send an email for email's sake.
Good automation moments include:
Immediately after a form submission
When behaviour shows intent, such as multiple page views
When momentum drops, such as no activity for 30 days
Zippily POV: HubSpot offers powerful automation capabilities with complete flexibility over triggers, delays, branches and actions.
Step 3: Choose the Right Automation Triggers
Common trigger types
Triggers should reflect real intent, not guesses.
Strong trigger examples:
Form submitted
Deal stage changed
Lifecycle stage updated
Property / Field Updated
Inactivity for a defined period (Unengaged segment)
Avoid triggers like “added to list” unless the list itself is dynamic and meaningful.
Keep triggers simple where possible
One flow. One trigger. Clear entry criteria.
When flows stack triggers, troubleshooting becomes painful and results become unclear. Simple is faster to optimise.
Step 4: Design Delays That Match Human Behaviour

Timing matters more than volume
We often see flows fail because emails are sent too quickly.
A useful starting point:
Immediate email for confirmation or delivery
1 to 2 days before the next value email
3 to 5 days before sales-focused messaging
AU example: a SaaS business in Melbourne reduced a five-email, five-day sequence to three emails over ten days. Replies increased because the emails felt considered, not rushed.
Zippily Bonus Tip: Use the “Goal” feature within HubSpot to ensure that any contact that meets the goal criteria of the flow will automatically exit the sequence. Example: Recipient books meeting in lead nurture series, they should no longer receive any unnecessary follow-ups.
Step 5: Segmentation Consideration
Effective segmentation first requires clean data, for more on this check out our blog on ensuring clean data within your CRM.
Once you’ve got that nailed, some common segments to consider for strong segmentation are:
Industry
Company Size
Role & Seniority
Product Interest
Stage in the buying journey
Please Note: If the segment does not require a change in messaging then that segment doesn’t need to exist.
Segments should also be dynamic and built on over time, something both HubSpot and Attio facilitate using custom properties/attributes.
Zippily Bonus Tip: Use suppression lists within your automation flows to ensure only applicable contacts are being enrolled. Some standard segments to exclude are:
Hard Bounced
Soft bounced multiple times
Unsubscribed
Currently in sales process (avoid sending promos)
Invalid formatting
Reported Spam
All of these are available filters within HubSpot and ensure strong deliverability metrics.
Step 6: Write Emails That Sound Like People
There’s so many generative AI tools out there to make your job easy but when it comes to creativity it’s supposed to be hard. If you’re going to grab people's attention please start by writing from your own words first, then you can ask AI to refine and iterate from there.
One idea per email
Avoid multiple calls to action, it confuses people. With so many marketing emails landing in peoples inbox these days you need to ensure your messaging and CTA are scannable. Stick to one clear action per email.
Short sentences are fine. Plain language is better.
Match tone to context
A post-demo follow-up should not sound like a newsletter. An onboarding email should not read like a sales pitch.
Zippily POV: automation does not mean robotic. The best-performing flows read like they were typed five minutes ago, even if they were built six months ago.
Step 7: A/B Test With Purpose
Test one variable at a time
Good A/B tests focus on learning, not guessing.
Strong test ideas:
Subject line clarity versus curiosity
Plain text versus designed emails
Short versus long copy
Avoid testing multiple elements at once. You will not know what caused the change.
Set a clear success metric
Decide upfront what “better” means.
Common metrics include:
Open rate for subject line tests
Click-through rate for content tests
Reply or conversion rate for sales flows
Consider creating custom campaign reporting dashboards to monitor the performance of your campaign over time using these KPIs.
Step 8: Review, Refine, Repeat
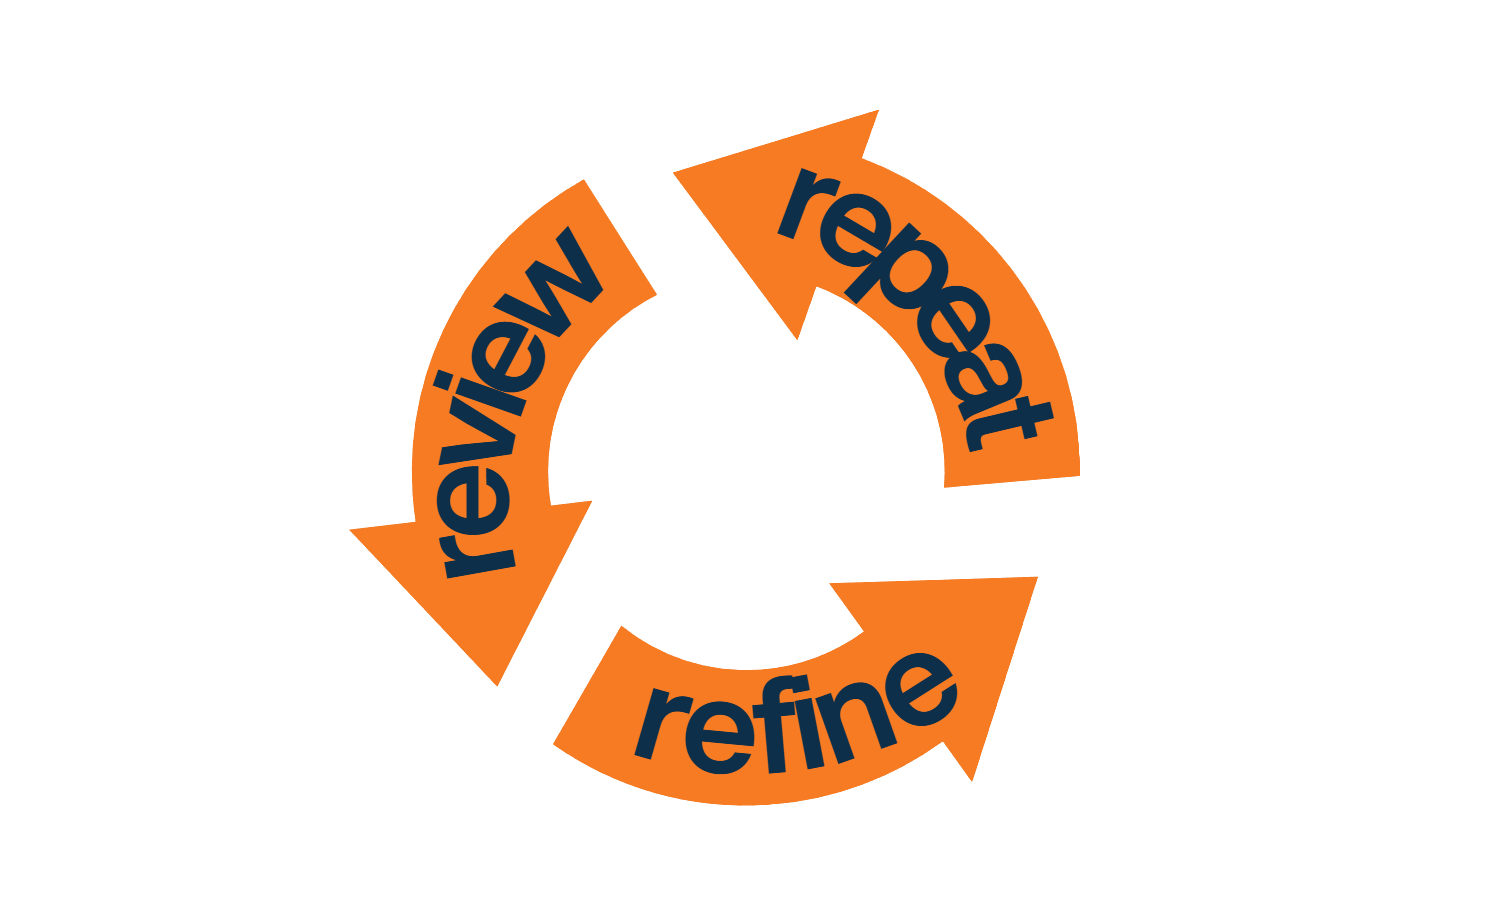
Build feedback loops
Your email automations shouldn’t be set and forget.
Schedule monthly reviews to check:
Drop-off points within your flows
The quality of the replies you’re getting
Conversion rates by segment
Look for patterns, not perfection.
Align sales and marketing
The best insights come from sales conversations.
If leads reply with confusion, your emails are misaligned. If sales say leads feel informed and warm, your automation is hitting the mark.
NZ example: an Auckland-based consultancy added one internal note field in HubSpot for sales feedback on lead quality. That single change improved their nurture flow more than any copy tweak.
Final Thoughts
A strong email automation strategy is not about sending more emails. It is about sending the right message at the right moment, with intent.
When requirements are clear, journeys are mapped, and tools are used thoughtfully, automation becomes a quiet growth engine. It supports your team, respects your audience, and scales without losing the human touch.
If you’d like some guidance on your marketing automation strategy, book in a time below and let’s get started.